Tattoo Cartridge Needles Made Simple: What They Are and How to Pick the Right Ones
If you’re new to tattooing—or just want to make smarter gear choices—knowing your way around cartridge needles is a must. They’ve become the go-to standard in most studios because they’re quick to swap, safer for the skin, and super convenient. But not all cartridges are made the same, and choosing the right one can make a huge difference in how your work turns out.
Let’s break it all down in plain English.
1. What’s on a Cartridge Label?
Tattoo needle cartridges usually come labeled with a few numbers and letters that tell you exactly what you're getting. Something like:
08-05 CM LT
Here’s what that means:
-
08 – Needle thickness (called gauge). 08 means 0.25 mm, which is pretty thin.
-
05 – Number of little needle tips grouped together.
-
CM – The needle configuration. In this case, Curved Magnum.
-
LT – Taper length. That’s how long the needle point gradually narrows.
Each part tells you how that needle is going to perform in your machine and on someone’s skin.
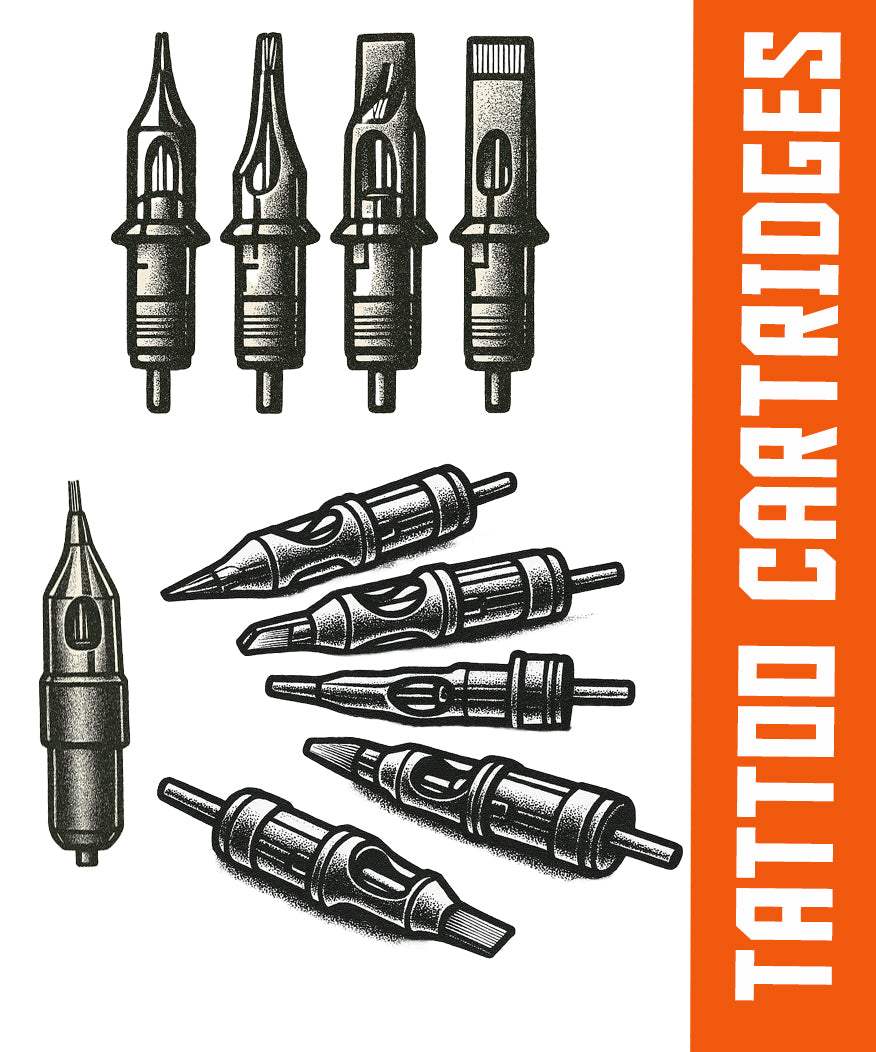
2. Types of Cartridge Needles (and What They Do Best)
There are six main types of cartridges you’ll see most often. Each one has a purpose, depending on whether you’re lining, shading, packing color, or building soft gradients.
● Round Liner (RL or RLT)
Tight cluster of pins arranged in a circle. These are your go-to needles for crisp lines, outlines, and sharp details. "Tight" versions are even more focused, great for micro work and tiny lettering.
● Round Shader (RS)
Still round, but spaced out a bit. Great for soft shading, smooth color fills in smaller areas, and blending along linework without making it too harsh.
● Magnum Shader (MG or M1)
Think of this like the wide paintbrush of the tattoo world. Two rows of staggered needles that deliver lots of ink fast. Ideal for shading big areas or laying down solid color.
● Curved Magnum (CM or Soft Edge)
Same idea as magnums, but the outer edges curve in a bit. That curve makes it gentler on the skin and helps create super smooth gradients—perfect for realism, portraits, or anything needing a softer touch.
● Double Stack Magnum (MG2)
These are tightly packed magnums with more pins in a smaller area. That makes them perfect for dense shading in compact spots—like the shadows under cheekbones in portraits.
● Flat Shader (FS)
One straight line of pins. These are awesome for geometric fills, solid blocks of color, or areas that need hard edges. They can be tricky to use though—one wrong angle and you might leave a cut.
3. Needle Gauge: Size Matters
Gauge is just a fancy word for thickness. Smaller numbers mean thinner needles.
-
#8 (0.25 mm) – Known as bug-pin. Super fine, ideal for soft shading and tiny details.
-
#10 (0.30 mm) – A nice middle ground. Versatile enough for most work.
-
#12 (0.35 mm) – Thicker needles. They dump ink faster and are good for bold lines or filling big sections.
Thinner = more control. Thicker = more coverage in fewer passes.
4. Taper Length: How the Needle Is Shaped
Taper is how long the needle gradually narrows toward the tip. That shape changes how the ink flows and how soft or aggressive the needle feels.
Here’s the quick breakdown:
| Taper Style | Length Range | What It's Good For |
|---|---|---|
| Short Taper (ST) | ~1.5–2.0 mm | Bold lines, heavy color, fast ink flow |
| Medium Taper (MT) | ~2.5–3.5 mm | Balanced use—great all-rounder |
| Long Taper (LT) | ~4.0–5.5 mm | Soft lines, precise shading, cleaner strokes |
| Extra-Long Taper (XLT) | ~6.0–8.0+ mm | Ultra-smooth gradients, detailed realism |
| Super Long | 9–12 mm+ | Rare but useful for ultra-light passes |
Short tapers are more rigid and push a lot of ink fast. Long tapers are softer, smoother, and better for layering tone.
Some cartridges also come with textured tapers—these hold more ink and are great for black and grey work.
5. Quick-Select Guide: What to Use for What
Need help matching the needle to the job? Here’s a cheat sheet:
| Job | Try This Cartridge Setup |
|---|---|
| Sharp lines and outlines | 3RL or 5RL, bug-pin, long taper |
| Script and soft filler details | 5RS or 7RS, standard gauge |
| Shading big areas | 9MG or 13MG, medium taper |
| Smooth color blending or realism | 11CM or 13CM, long taper |
| Dense fill in small spaces | 5MG2 or 7MG2, medium taper |
| Solid blocks or geometry | 5FS or 7FS, short taper |
6. A Few Final Things to Keep in Mind
-
Skin type matters. Thinner or sensitive skin handles bug-pin and long tapers better.
-
Needle count = control. Fewer pins = more precision. More pins = more coverage.
-
Your own technique plays a big role. Test different setups to figure out what works best with your pressure and stroke style.
Wrapping It Up
Choosing the right tattoo cartridge is less about rules and more about knowing how each element—type, gauge, taper—affects the final result. Some artists prefer long taper bug-pins for smooth portraits, others love bold flats for quick fill. The trick is finding what feels right in your hand and looks right on the skin.
Hopefully this guide helped make cartridge selection a little less confusing. Keep experimenting, stay safe, and keep your needles clean.